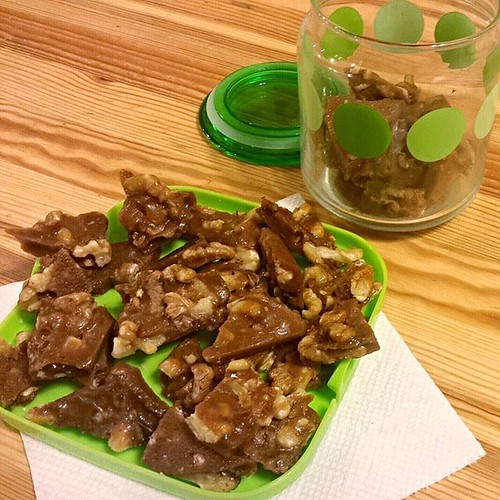
Maple Nut Toffee / Brittle
(adapted from California Walnuts' website)
about 50-60 bite-sized pieces
Ingredients:
2 cups of raw, unsalted nuts, roughly chopped (I prefer walnuts, pecans or cashews since their softer crunch is a nice contrast against the snap of the toffee)
1/2 cup granulated white sugar
1/2 cup light brown sugar
1/4 cup grade B maple syrup*
1 cup (2 sticks) of unsalted butter, cut into smallish pieces (for faster melting)
2 teaspoons vanilla extract
1/4 cup water
extra cold water for candy testing
*the grades of maple syrup is not about quality, but whether its color (& by association, "mapliness") — for cooking I prefer Grade B since it allows that distinctive busky, woodsy flavor to shine through.
Directions:
1. In a non-stick pan over medium-high heat, heat the chopped nuts, stirring/tossing regularly. Once it starts getting toasty (you'll start smelling the nutty aromas, and the nuts will start to char around the edges), turn off heat and set aside.
2. In a stainless steel pan, combine all the other ingredients and bring to low, gentle boil over medium-high heat, stirring as needed to melt the butter and mix everything together into a syrup.
3. Once the mixture starts to boil, lower heat as needed to bring it to a simmer and allow it to heat for another 15-20 minutes. Do not stir during this time.
4. When the candy color is a medium brown, do a cold water candy test. When it hits the hard crack stage (or when it hits 300 degrees Fahrenheit — if you have a cooking thermometer), turn the heat off and remove the pan from the burner. (Per the linked page, be careful when working with the hot candy syrup)
5. Add the toasted nuts into the syrup and stir to evenly incorporate the two.
6. Pour the mixture into a baking pan (I used a 8"x12") and spread evenly to cover all edges & corners. You can use a larger pan for a thinner layer candy, making it more of a brittle than a toffee.
7. Set and allow to cool for a few hours (or overnight) at room temperature.
8. Break the sheet of toffee into bite-sized pieces to store and enjoy!